
Accelerating the delivery of the finished product to market is one of the leading tasks of today’s Agile teams. To achieve the right results, IT professionals need effective testing tools that provide real-time information about the product. We understand our customers’ needs and are constantly working to improve our TMS, implementing functionality that improves the speed and efficiency of QA processes.
Benefits of Test executions by step for your team
You cannot do without this function on projects where it is important to mark not only the result of the entire Test Run but also each step in it. It is very convenient because, in testing, there are cases when all Steps passed, but the test as a whole failed. And vice versa – some actions fail, while the whole Test Run is completed successfully, and the result corresponds to the expected one. In such situations, the statuses of each individual action allow you not to lose sight of any detail, check failed steps repeatedly, and create a defect for its subsequent elimination.
Another situation in which the feature in question is very useful is performing testing with complex, extensive Steps. Such testing requires a lot of time and effort from a QA engineer, and it is easy to get confused in a large number of actions. The ability to mark the status of each step allows the tester to clearly understand what actions have already been performed and what they should do next.
How does Test executions by step work?
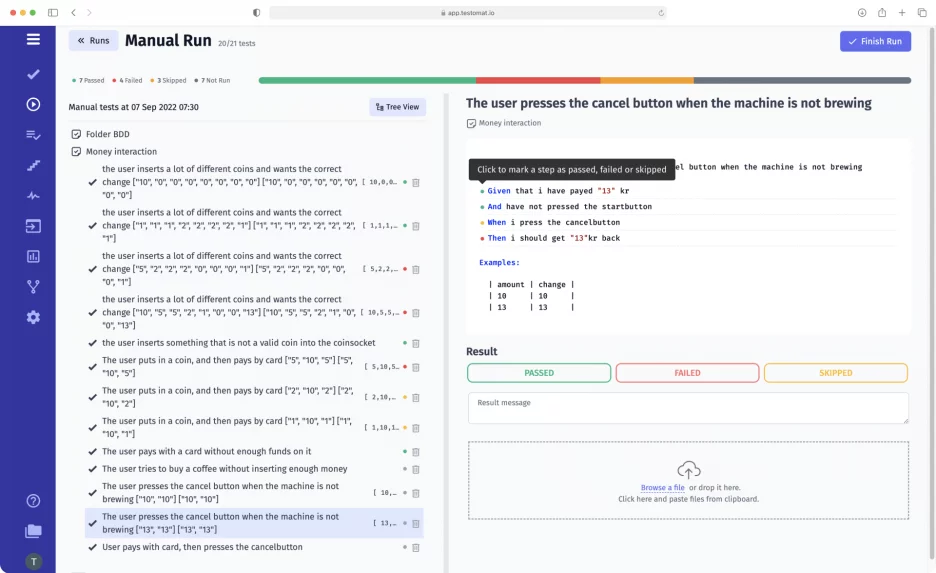
After you start a manual test in the Runs tab, clicking on the needed test case opens a window with its description and a list of the steps used. You can capture the test result as a whole (passed, failed, or skipped) or each step separately.
To select the desired status, click on the indicator button, which is located next to the description of each step. One click sets the passed status, a second click changes it to failed, and a third click sets the skipped status.
Other features of the Test executions by step function:
- The status of the test can be selected and saved without entering the results of each step. At the same time, setting the status of the steps will not automatically change the result of the entire test – it must be set manually.
- If some of the tests have not been marked after completing the Test Run, after you click Finish Run, a message appears stating that the tests have not been completed and will be marked as skipped. You can either accept this or click Cancel and continue.
- You can use filters to sort tests according to their statuses. This is very useful when you have many tests in one Test Run, and the manual search takes too much time.
- You can see the statuses of the steps only in the Runs and Run Reports tabs; they are not displayed in the other windows.
The ability to set statuses for steps within each test case also helps with other testomat.io functionality.
Functions related to Test executions by step
- Manual Test Execution – function is only available for manual testing, so you can run manual tests and see the overall results of the test run or the status of each individual step.
- Add BDD test cases – for Given/When/Then steps, which are used in BDD tests, you can also set statuses.
- Reporting – the statuses of the steps are available in the Run Reports tab. After completing the test run, you can see the results and return to the failed step check. If the error is confirmed, create a defect, which will then be repaired.
- Analytics – test management’s in-depth analytics, based on complex test results and statuses of individual steps, allows you to estimate the percentage of failed actions and prioritize the work of testers.