




Jest is an open-source JavaScript testing framework for writing and running automated tests on JavaScript and TypeScript code. Originally created by Facebook and now maintained under the OpenJS Foundation, Jest bundles a test runner, an assertion library, mocking, and code coverage in one dependency, with zero-config setup for most projects.
Finding the right framework matters in an agile landscape, where teams want maximum coverage, minimal manual work, and actionable analytics. This Jest tutorial explains what Jest is, why QA teams pick it, how to get started, and how to run, skip, and report on your Jest tests.
What Is Jest?
What is Jest? Jest is a JavaScript testing framework that lets you write unit, integration, and snapshot tests in one place, with a test runner, expect assertions, mocking, and coverage built in. It works with React, Vue, Angular, Node.js, Babel, and TypeScript, so one tool covers most front-end and back-end JavaScript projects.
Jest JS was built at Facebook and moved to the OpenJS Foundation in 2022, so it is now community-led. That backing is one reason the Jest framework stays a safe, well-maintained choice for JavaScript and TypeScript codebases. The current line is Jest 30, and its packages, from jest-cli to jest-config, run each test when you call a command such as jest my-test.js.
What Is Jest Testing?
What is Jest testing? Jest testing is the practice of writing automated tests with Jest to check that JavaScript code behaves as expected, using describe to group tests, test to define cases, and expect to assert outcomes. It covers unit tests, integration tests, and snapshot tests from a single, uniform syntax.
Three functions form the core vocabulary of Jest tests:
describecreates a block that groups related tests.test(orit) defines an individual test case.expectchecks that a value meets a condition, and combined with matchers it handles many cases.
A first test reads clearly:
describe('sum', () => { test('adds 1 + 2 to equal 3', () => { expect(sum(1, 2)).toBe(3); });
});
Why QA Teams Choose the Jest JavaScript Testing Framework
When a team standardizes on one approach, it cuts errors and confusion. Several traits make the Jest testing framework a common pick.
The documentation is clear and full of examples. The CLI keeps test management under control. An interactive watch mode reruns affected tests after each change. You can focus or skip tests with .only and .skip. Mocking is easy, so you can replace any object outside a test’s scope. Coverage reports gather data across a whole project, including untested files. As a test runner, Jest executes the suite for fast evaluation.
Benefits of Test Automation with Jest
The Jest framework brings a set of practical benefits:
- Zero configuration for most JavaScript projects, so you start writing tests fast.
- Speed, since Jest runs isolated tests in parallel to cut execution time.
- Mocking support for any object outside a test’s scope.
- Built-in code coverage to find which code needs more testing across CI pipelines.
- Snapshot testing to capture and validate component output over time.
- Easy migration through codemods, so switching to Jest needs little code change.
- A rich API with the modules most testing tasks require.
- TypeScript support for server-side and client-side JavaScript apps.
Jest Getting Started: Prerequisites and Install
Jest getting started takes a couple of steps. First install Node.js through npm or the Windows installer, then initialize npm in your project:
npm init -y
To install Jest, add it as a dev dependency:
npm install --save-dev jest
Run npx jest --version to confirm the install. Keep a project root directory to hold your test files. That is all it takes to install Jest and run a first suite.
Add a test script to package.json so you can run the suite with one command:
{ "scripts": { "test": "jest" }
}
Running, Filtering, and Skipping Jest Tests
Once Jest is installed, the CLI runs your tests exactly how you want.
Run every test with jest. Run a single test file by passing a pattern or path, jest my-test or jest path/to/my-test.js. Run only the tests whose name matches a pattern with jest -t "name of spec", which matches against the text in describe or test. Run in watch mode with jest --watch to rerun tests tied to changed files.
To narrow things down inside the code, Jest gives you two modifiers. Use test.only to run a single test in a file and ignore the rest, and use the Jest skip test modifier test.skip to leave a test out of the run:
test.only('runs just this case', () => { expect(true).toBe(true);
}); test.skip('is skipped for now', () => { expect(false).toBe(true);
});
Between the CLI patterns and these modifiers, you can run one file, one named case, or skip cases while you work, which keeps feedback fast on large suites.
Sync Jest Tests with Manual Testing
Testing every feature by hand is slow and error-prone. When your Jest tests sync into a test management layer, the team sees exactly what happened to each case. Automated and manual tests in one place give a clear view of the whole process and produce reliable reports, showing automation coverage percentage and real-time results. Keeping your Jest test cases beside manual ones this way aligns development and QA toward shared goals. Testomat.io imports Jest tests through its import automated tests workflow and keeps them beside manual cases.
Getting Started with Jest on Testomat.io
Here is how the example runs on the Testomat.io test management layer.
First, create a new project. Sign in and choose a format: Classical, where descriptions are plain human-readable text, or BDD, where tests use Gherkin. Name the project and create it.
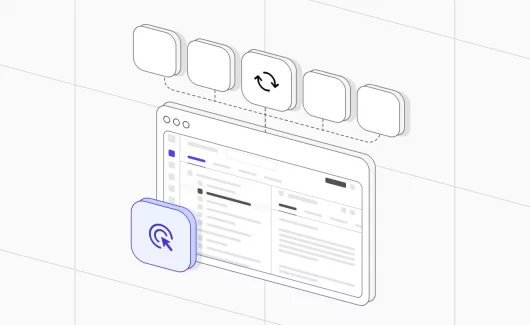
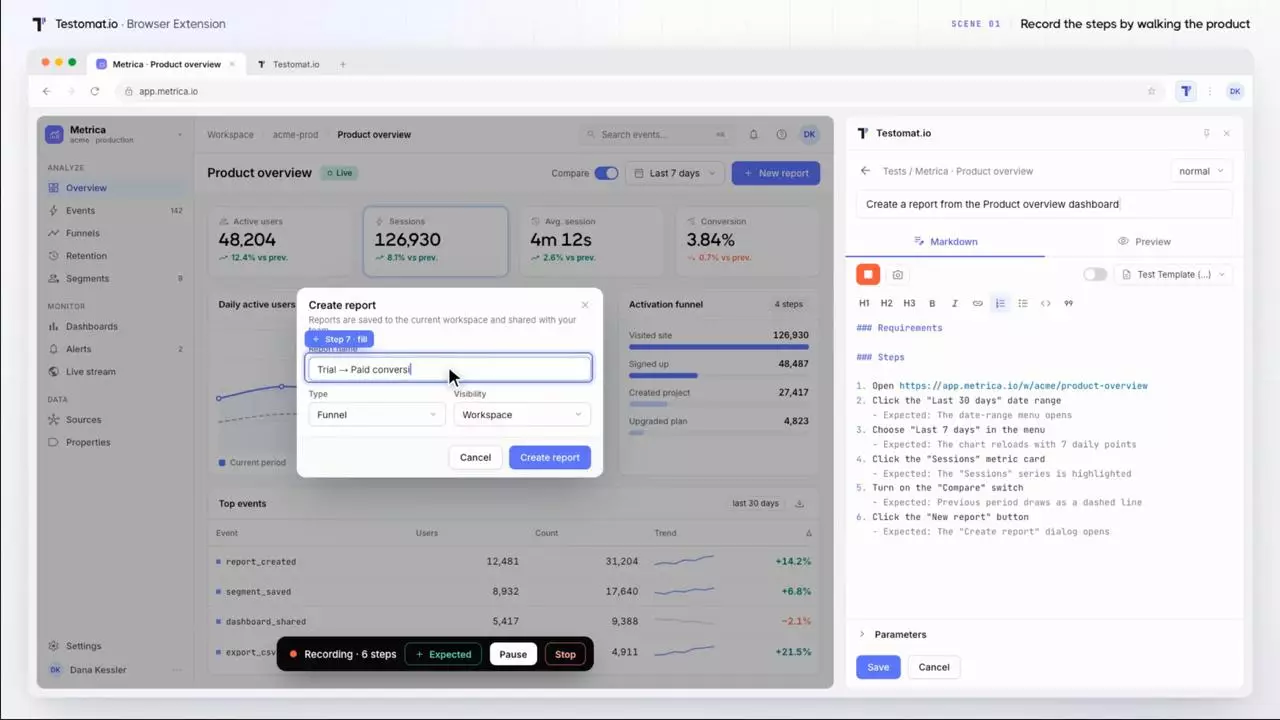
Second, import your Jest automated tests. Choose Import automated tests from the menu to bring tests in from source code, and pick the language combination, Jest with JavaScript or Jest with TypeScript. The importer analyzes the code and reports how many tests it found.
Third, organize the tests. The Markdown editor lets you create suites manually and adjust automated cases: add tags, change order, move tests between folders, use bulk edit, filter by state, tag, priority, or assignee, and sort by type. Expand the tree to see the structure, and use the Project Timeline to see who changed what, with rollback to a previous version. You can manage tags and structure through the tags and environments and markdown editor features.
How Do I Create a Report in Jest?
For a detailed, real-time report, install the Testomat.io reporter and configure it. Install the reporter as a dev dependency:
npm install --save-dev @testomatio/reporter
Then add it to jest.config.js using the configuration the test management system suggests:
reporters: [ 'default', ['@testomatio/reporter/lib/adapter/jest.js', { apiKey: process.env.TESTOMATIO }],
];
Run your tests with the API key set, and you get the current testing status plus a shareable link for teammates, managers, or customers. When the run finishes, you see which cases passed, failed, or were skipped, with supplementary files for detail. The public read-only reports feature covers this sharing.
The Analytics view then surfaces automation coverage, defects, ever-failing tests, flaky tests, slowest tests, and tests that never ran. That big-picture read helps you spot mistakes and make changes, and the automation metrics feature goes deeper.
Running a Jest Test Suite on CI/CD
Speed matters when building software, but rushing can cost quality, and CI/CD holds the balance. Integration with tools such as GitLab, Jenkins, GitHub, Bamboo, and CircleCI builds a solid pipeline where infrastructure parts coordinate cleanly. Running Jest on CI/CD lets teams deliver faster with more predictable releases, detect and isolate issues sooner, stay ahead of results, keep everyone in sync, and deploy with less risk. The CI/CD execution feature runs your Jest suite in the pipeline.
Jest vs Playwright vs Mocha
Jest is one of several JavaScript testing tools, and each fits a different job.
| Framework | Language support | Primary use | Community |
|---|---|---|---|
| Jest | JavaScript, TypeScript, Angular, Vue, Node.js | Unit and snapshot testing | Strong, active |
| Playwright | JavaScript, TypeScript, Python, Java, .NET | Cross-browser, E2E, API, parallel testing | Actively growing |
| Mocha | JavaScript, TypeScript | Unit, integration, end-to-end | Smaller |
Jest leads for unit and snapshot testing on JavaScript and TypeScript, Playwright covers broad cross-browser and end-to-end work, and Mocha offers a flexible base with a smaller community. For a wider view of the options, see the JavaScript testing frameworks overview and this guide on how to start with JavaScript unit testing.
Jest Best Practices
A few Jest best practices keep a suite reliable as it grows. Group related cases under a clear describe block so the report reads well. Keep each test focused on one behavior, and give it a name that states the expectation. Reach for test.only while debugging, but remove it before committing so you do not silently drop coverage. Use the Jest skip test modifier sparingly and leave a note on why a case is skipped. Rely on snapshot tests for stable output, and review snapshot diffs rather than updating them blindly. These Jest testing best practices, applied consistently, keep feedback fast and results trustworthy.
Where Testomat.io Fits
Jest runs your JavaScript tests, but visibility across a growing suite is a separate problem. Testomat.io is not a test runner or a framework. It is the management, reporting, and visibility layer that imports your Jest tests, keeps them synced with manual cases, and turns runs into real-time, shareable reports with coverage and flaky-test analytics. Connect Jest through the reporters by testing frameworks integration and manage everything in one workspace.