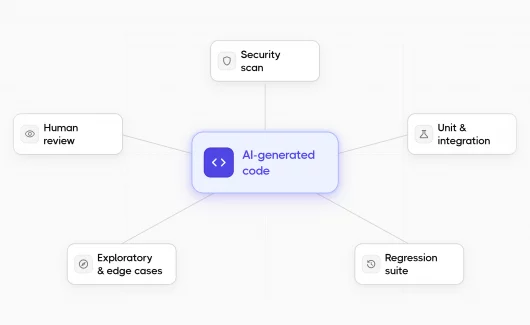





Mobile app testing usually starts on an emulator. Your team runs the suite and releases once CI passes. But a crash report arrives from a Galaxy S25 during checkout. It happened on a build that passed everything. According to AppsFlyer’s 2025 app uninstall benchmarks report, the global average 30-day uninstall rate reached 46.1% in 2024. In this guide you’ll learn how mobile testing works, from test types through device strategy. Then you’ll see how results support a release decision.
What Is Mobile App Testing?
Mobile app testing verifies that an application works correctly on real phones and tablets, across different operating systems and network conditions. The checks cover functional behavior and performance, together with usability and security. That list sounds close to web testing, but the environment differs. A web app runs in a browser you can mostly predict, while a mobile application runs on hardware outside your control, often on an old OS version, where another app takes focus every few minutes. The device market adds another problem. Google advises developers to support roughly 90% of active devices, and publishes the current spread on its distribution dashboard. Reaching 90% of Android in practice means several OS generations at once, each with different permission behavior and rendering differences.
Types of Mobile Apps
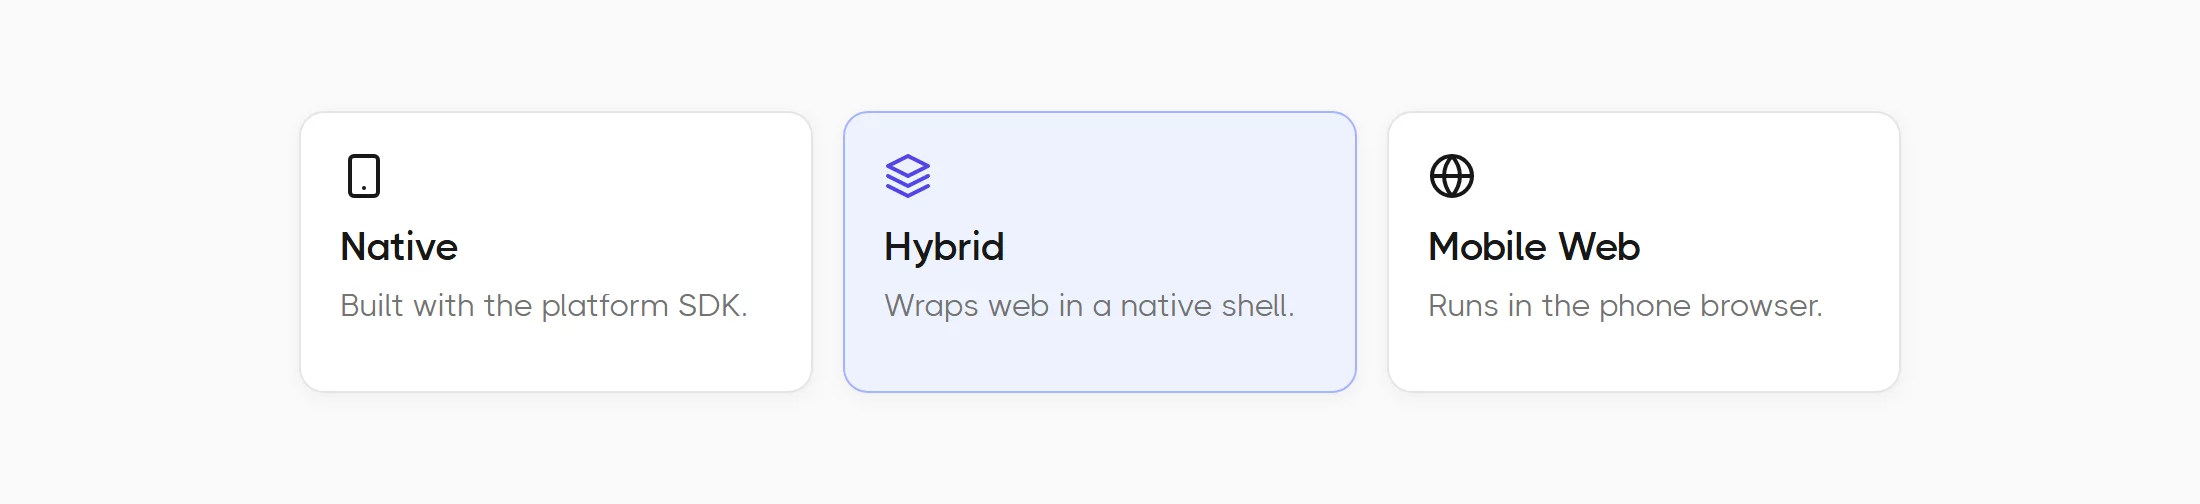
Applications also come in three forms, and the form changes what breaks.
- Native apps are built with the platform SDK, so their failures cluster around device-specific APIs.
- Hybrid apps wrap web content in a native shell, which moves the risk to the point where the web part meets the native part.
- Mobile web apps run in the phone browser, where screen size and touch handling cause most problems.
The stakes differ from the web as well. A user who meets a crash or a frozen screen often uninstalls the app instead of retrying. The app store makes the switch to a competitor easy. This is why a single bad release costs a mobile team more than a bad deploy costs a web team.
What Should You Test in a Mobile App?
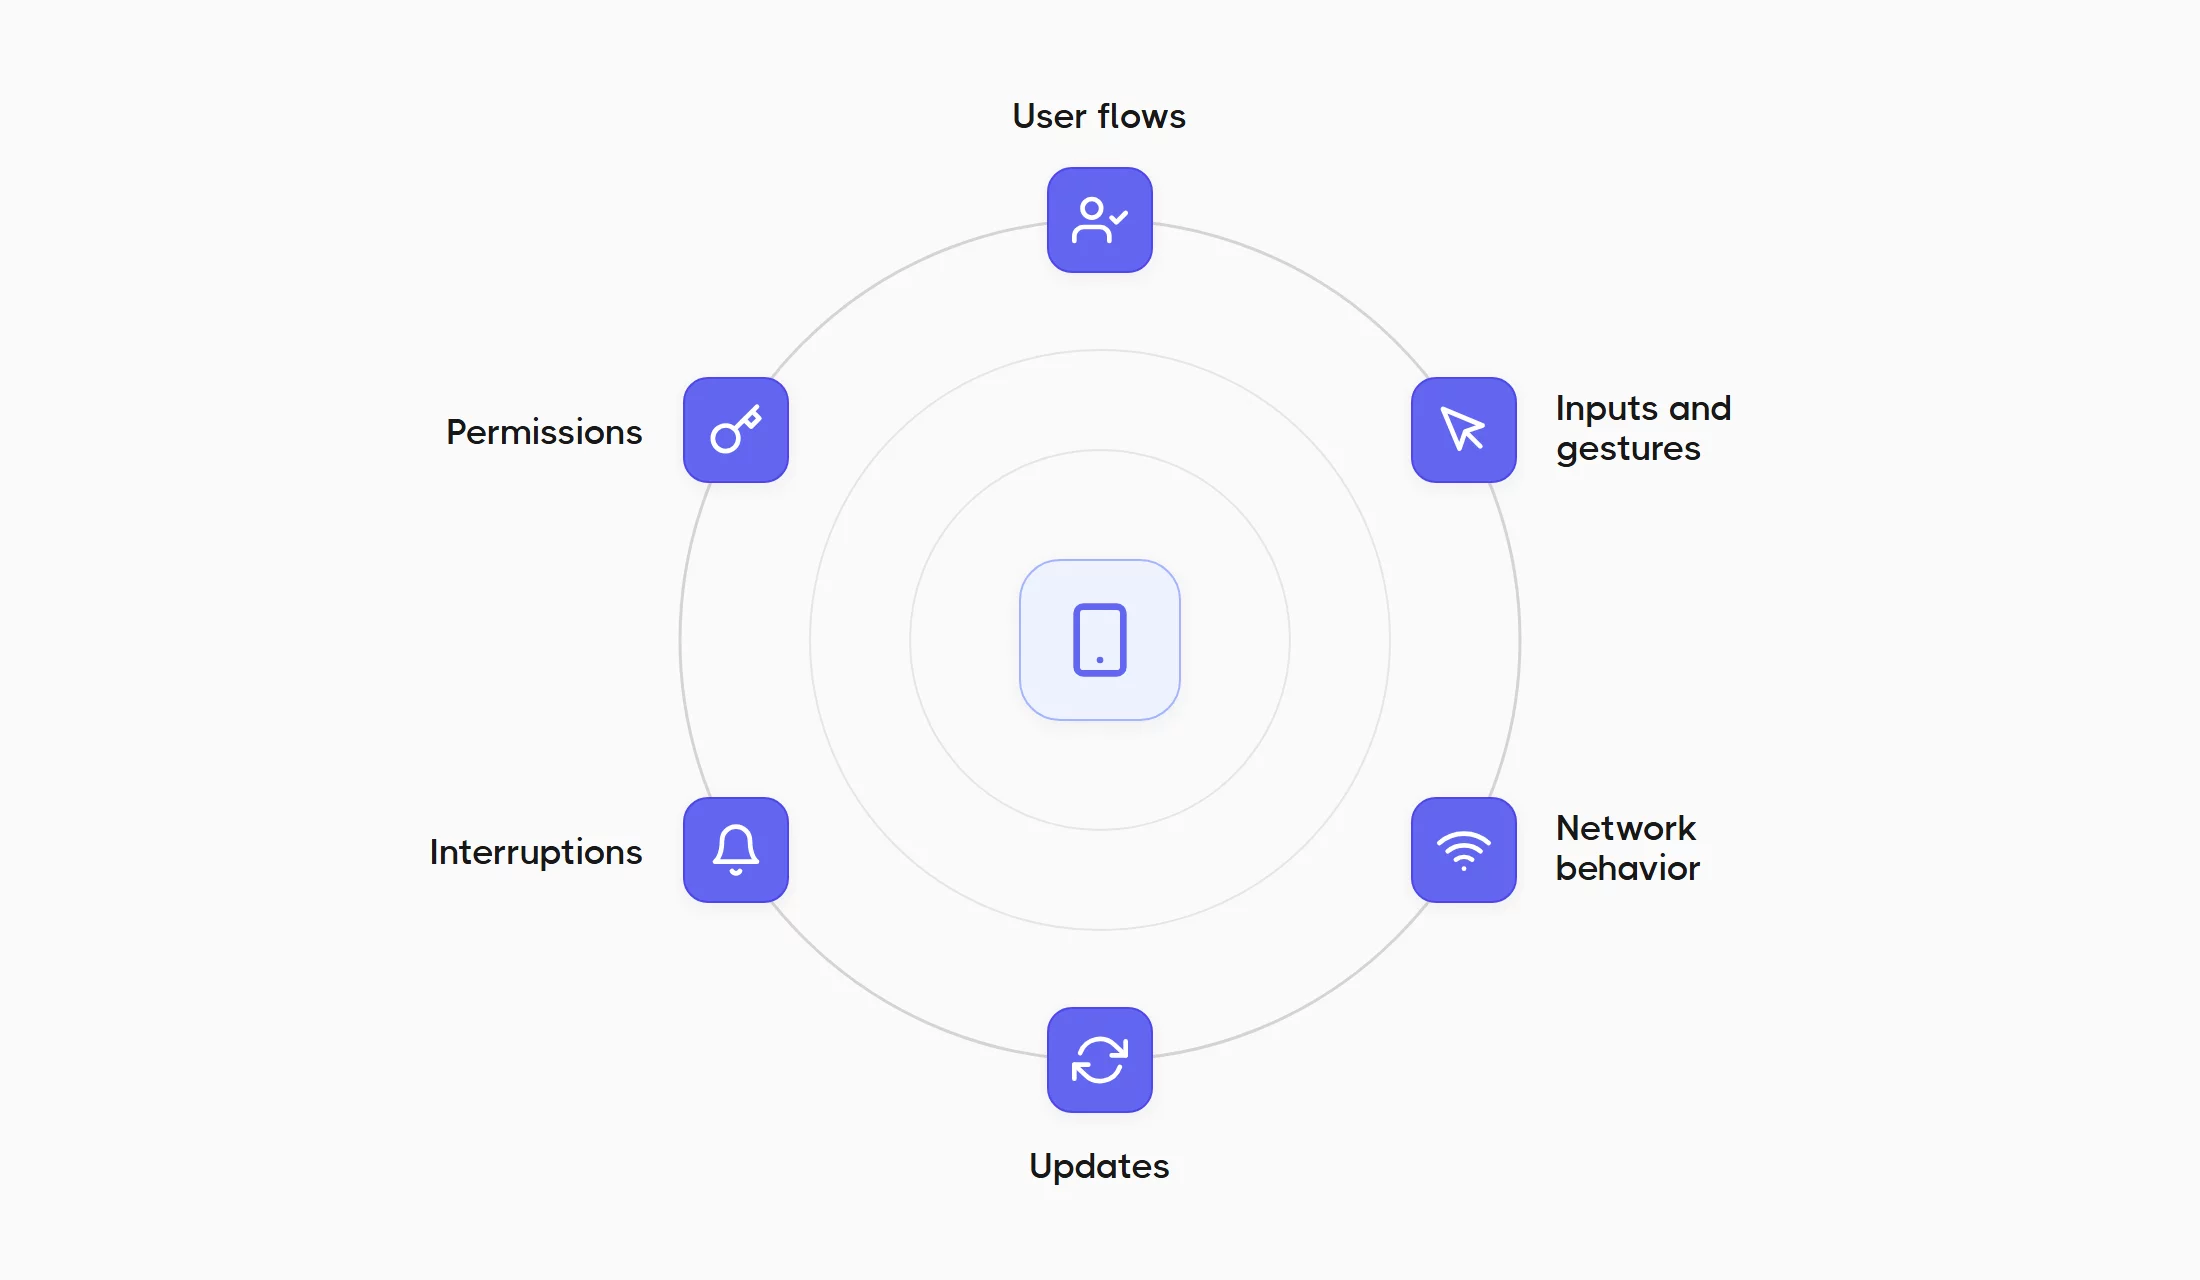
Test the core user flows first, like signup and checkout. Then the mobile layer around them, from gestures and permissions through network behavior. Here are the areas to check:
- User flows. Signup and checkout carry the revenue, so a failure here costs users directly.
- Inputs and gestures. Taps and swipes should respond the same way on every device.
- Permissions. The app should survive a denied camera or location request.
- Network behavior. Slow networks and dropped connections should show a clear state, and the user’s data should stay safe.
- Interruptions. Calls and notifications should pause the app, and the app should restore the user’s place.
- Updates. An upgrade should keep the user’s data and settings.
The testing types in the next section give each of these areas its own method.
Types of Mobile App Testing
Mobile application testing combines several checks, each aimed at a different type of failure. Most published guides list four or five types, which leaves real gaps, because the types they skip are exactly where phone-specific failures appear. Let’s overview them below:
| Type | What It Catches | Typically Run On |
|---|---|---|
| Functional | Broken flows and failed payments | Emulator, then real device |
| Regression | Features that worked last release | CI, every build |
| Performance | Slow screens and memory growth | Real device |
| Battery and resource | Battery drain from background work | Real device |
| Compatibility | Layout and API breaks across OS versions | Device cloud |
| Interrupt | Calls and notifications mid-flow | Real device |
| Installation and upgrade | Fresh installs, and data loss on update | Real device |
| Usability | Confusing flows and unclear navigation | Real device, with users |
| Localization | Text overflow, date and currency formats | Emulator with locale set |
| Accessibility | Screen reader gaps and small target sizes | Real device |
| Security | Insecure storage, weak session handling | Both |
Functional and Regression Testing
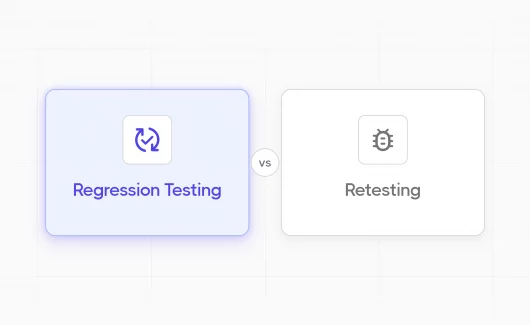
Functional testing confirms the app does what the spec says, from login through cart totals. Regression testing repeats those checks after every change, so features that worked last release keep working in this release. Together they carry most of your automated coverage, and emulators handle them well because these checks exercise logic rather than hardware.
Performance and Battery Consumption
Performance testing on mobile covers more than response time, because users also notice slow frame rendering and long cold starts, plus memory growth over a long session.
Battery use needs its own tests. An app that keeps the phone awake or checks location too often drains the battery in an afternoon, and users uninstall for that. Only a real phone shows this problem, because emulators simulate the battery.
Interrupt and Installation Testing
Interrupt testing is the type most teams skip and most users hit. For example, a call arrives while the user is mid-checkout, or a notification takes focus during form entry. The OS may also push the app to the background to free memory. The app should return the user where they were in each scenario, with their input intact.
Installation and upgrade testing checks how the app installs and updates, rather than how it runs. You need to cover a fresh install on a clean device, and then an upgrade from the previous production version, because a database change during an update can delete a user’s saved data.
Localization and Accessibility Testing
Mobile app localization testing checks how your layout handles long German words or Arabic right-to-left text. When this check is skipped, buttons overflow and dates display the wrong day for users in other regions.
Accessibility testing checks that screen readers announce your controls correctly and that touch targets are large enough to tap. For example, the Transfer button in a banking app needs a text label a screen reader can read aloud, or the core feature stays out of reach for part of your audience. The WCAG standard from the W3C defines the criteria, and our guide to accessibility testing best practices explains the workflow. Usability is a related check, and our guide covers it in detail: usability testing on mobile.
How Do You Build a Mobile App Testing Strategy?
You map each test type to the cheapest tier that can catch its failures. Unit tests run on emulators, and critical user journeys run on real hardware.
That single rule prevents the two most common failures in a mobile testing strategy. The first is running everything on real devices, which is slow and expensive. The second is running everything on emulators, which is fast and misses the failures that matter.
The Mobile Test Pyramid
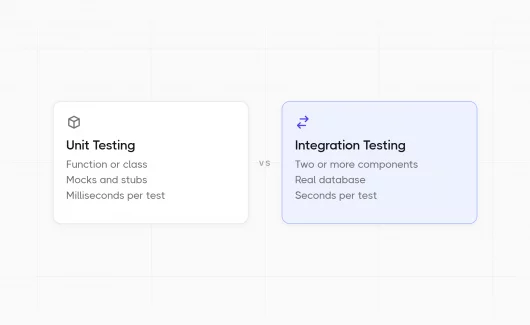
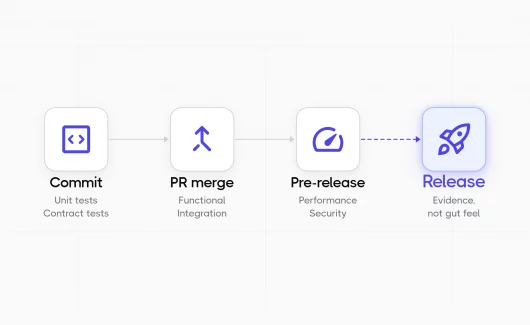
The classic pyramid still applies, but the balance shifts. Unit tests form the base and run in seconds on a laptop, while integration and component tests sit in the middle and test the app without a full device. The top layer changes most on mobile. End-to-end tests on real hardware are expensive enough that you should be strict about which journeys qualify. Signup and checkout usually qualify, together with payment flows. A settings toggle belongs in the lower tiers.
What to Test Manually and What to Automate
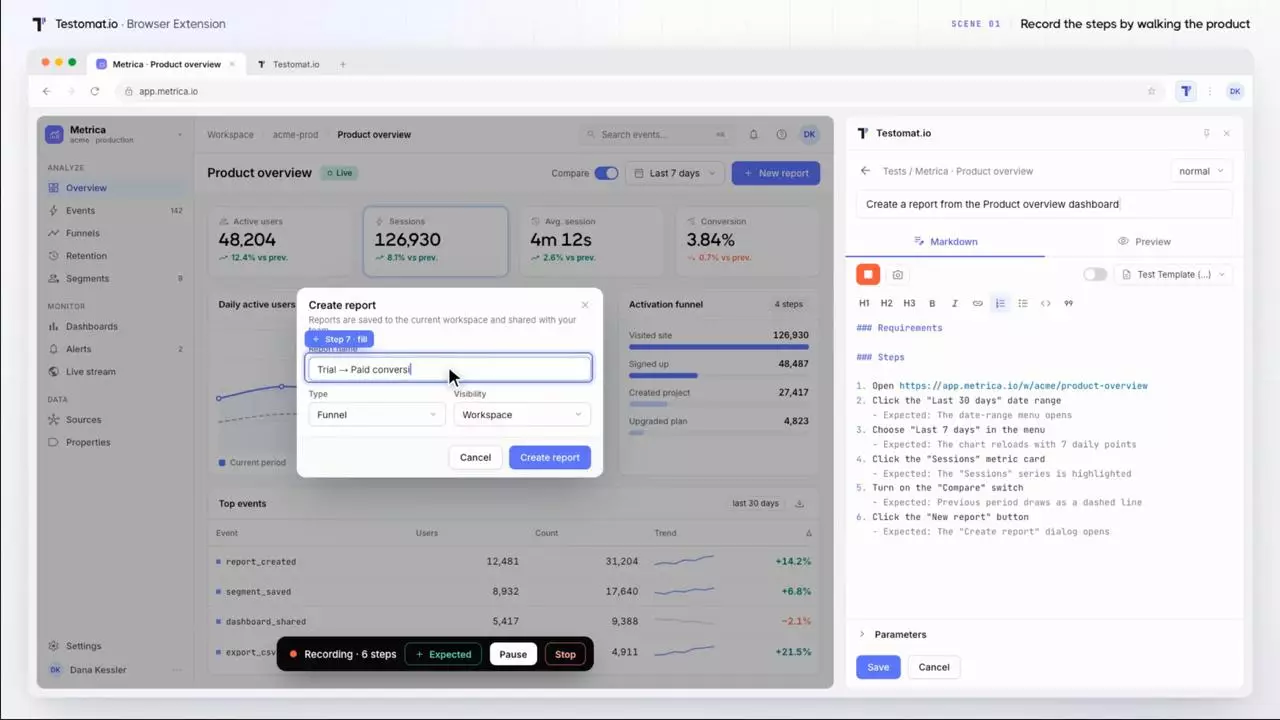
Manual mobile app testing remains the right tool for checks that need human judgment. Does the animation feel smooth? Is the error message clear to a person outside your team? Automated testing takes the repetitive work: regression across dozens of device configurations, the same login flow on every build. That split is the core of most mobile app testing best practices, and it’s worth revisiting each release. Our full guide to mobile test automation covers the automation half in detail. A practical note on how to test a mobile application manually: you should record the steps first. Exploratory sessions find bugs, but undocumented findings are hard to reproduce and hard to assign to a developer.
The Mobile App Testing Process: 5 Steps To Follow
The mobile app testing process consists of five steps. Each step produces a result the next step uses, and this keeps the process connected.
#1: Define Scope and Requirements
You need to define what the release should deliver and who uses it. A banking app and a fitness tracker both need full coverage, but their priorities differ: the bank cares most about secure authentication, while the tracker cares most about sensor accuracy. The result of this step is a clear list of requirements, ideally linked to the tickets that created them.
#2: Build the Test Plan
The plan decides which types from the table above apply to this release, and at what depth. A hotfix needs regression plus the changed area. A major version needs the full set, including installation and upgrade testing. If you need a full template, our complete guide to test plans covers the structure with examples.
#3: Write and Organize Test Cases
Test cases turn the plan into steps someone can execute. You should keep them small enough that a failure identifies a single cause. A case that says checkout works leaves the cause unclear when it fails. Organization matters as much as content, because a suite past a few hundred cases becomes hard to navigate as a flat list. You can use a folder structure that matches the app structure.
#4: Prepare the Test Environment
The environment covers devices and OS versions, plus network conditions and test data. You need to decide and record it before execution starts. A bug that appears on a single configuration is useful only when you know which configuration.
#5: Execute and Triage
Execution produces the raw results. Triage, the sorting of failures, gives them meaning: every failure needs a verdict. Most failures are a real defect, an environment problem, or a flaky test. Teams that skip triage get a red suite everyone ignores.
Where Should Each Test Run: Emulator or Real Device?
Emulators handle logic and layout, while real devices catch performance and battery failures. Device clouds give you hundreds of phones when a full lab costs too much. Most guides say you must choose between them. In practice, you choose the best place for each test type.
| Test Type | Emulator | Real Device | Device Cloud |
|---|---|---|---|
| Unit and component | Best fit | Too costly | Too costly |
| Functional regression | Good | Sometimes | For breadth |
| Performance and battery | Misses it | Required | Works |
| Interrupt handling | Unreliable | Required | Partial |
| Compatibility | Limited | Limited by lab size | Best fit |
| Localization | Good | Sometimes | Sometimes |
Emulators and Simulators
Emulators are fast and free to script, which makes them the right default for logic and layout tests. They also let you set a locale or screen size in a single command, which makes them ideal for localization passes.
They differ from real phones under load: they simulate the battery and skip heat effects, and they only imitate mobile network switching.
Real Devices
A physical device is the only place you see the app as the user does. Live mobile app testing on real devices catches hardware failures: a slow storage chip, or a vendor battery manager that stops your background service.
The cost of this realism is constant maintenance: charging and OS updates, plus replacement as they age.
Device Clouds
Device clouds provide the hardware as a service. AWS Device Farm and Firebase Test Lab both offer remote access to physical devices, with logs and video from each run. They solve the coverage problem: a single team can own only a few devices, while a cloud offers thousands.
How to Reduce the Matrix With Pairwise Testing
Device coverage is a multiplication problem. With six devices, four OS versions and three network states, the matrix already holds 72 combinations. Each of them needs run time. With pairwise testing, you can solve it. Instead of every combination, you generate a smaller set that covers every pair of values at least once, which catches most combination bugs with far fewer runs. The technique comes from testing research at NIST, and our guide to pairwise testing explains how to generate the set.
Mobile App Testing Tools You Need to Know
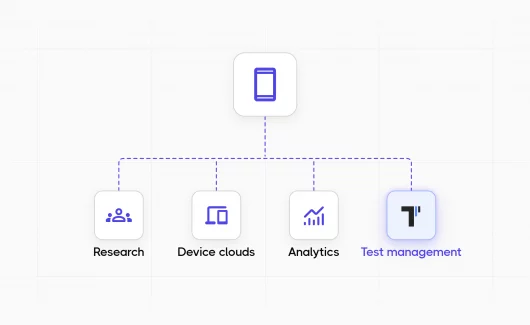
Mobile app testing tools form two groups: frameworks that drive the app, and services that provide the hardware. You need a tool from each group.
Appium and the WebDriver
Appium drives both Android and iOS through the WebDriver protocol, which means a single API and a single test language across platforms. It’s the most common choice for teams that want a single suite covering both.
Cross-platform convenience costs you speed, because the WebDriver layer adds delay that native frameworks avoid.
Espresso and XCUITest
Espresso runs inside the Android app process, so it knows when the UI is idle and syncs automatically. That removes most of the fixed sleep timers that make cross-platform tests fragile.
XCUITest is Apple’s equivalent for iOS, and both run faster and steadier than a cross-platform driver, at the cost of maintaining two suites.
Maestro and Detox
Maestro takes a different approach. It describes test flows in simple YAML files and handles timing differences itself, which cuts the setup cost for teams without a dedicated automation engineer. Detox targets React Native and synchronizes with the app rather than polling it.
A note on stale advice: several widely-shared mobile testing tool lists still recommend Calabash, which has been archived for years, and Robotium, which is inactive. You should check the repository activity before you adopt a tool from a listicle.
Mobile App Testing Best Practices with Testomat.io
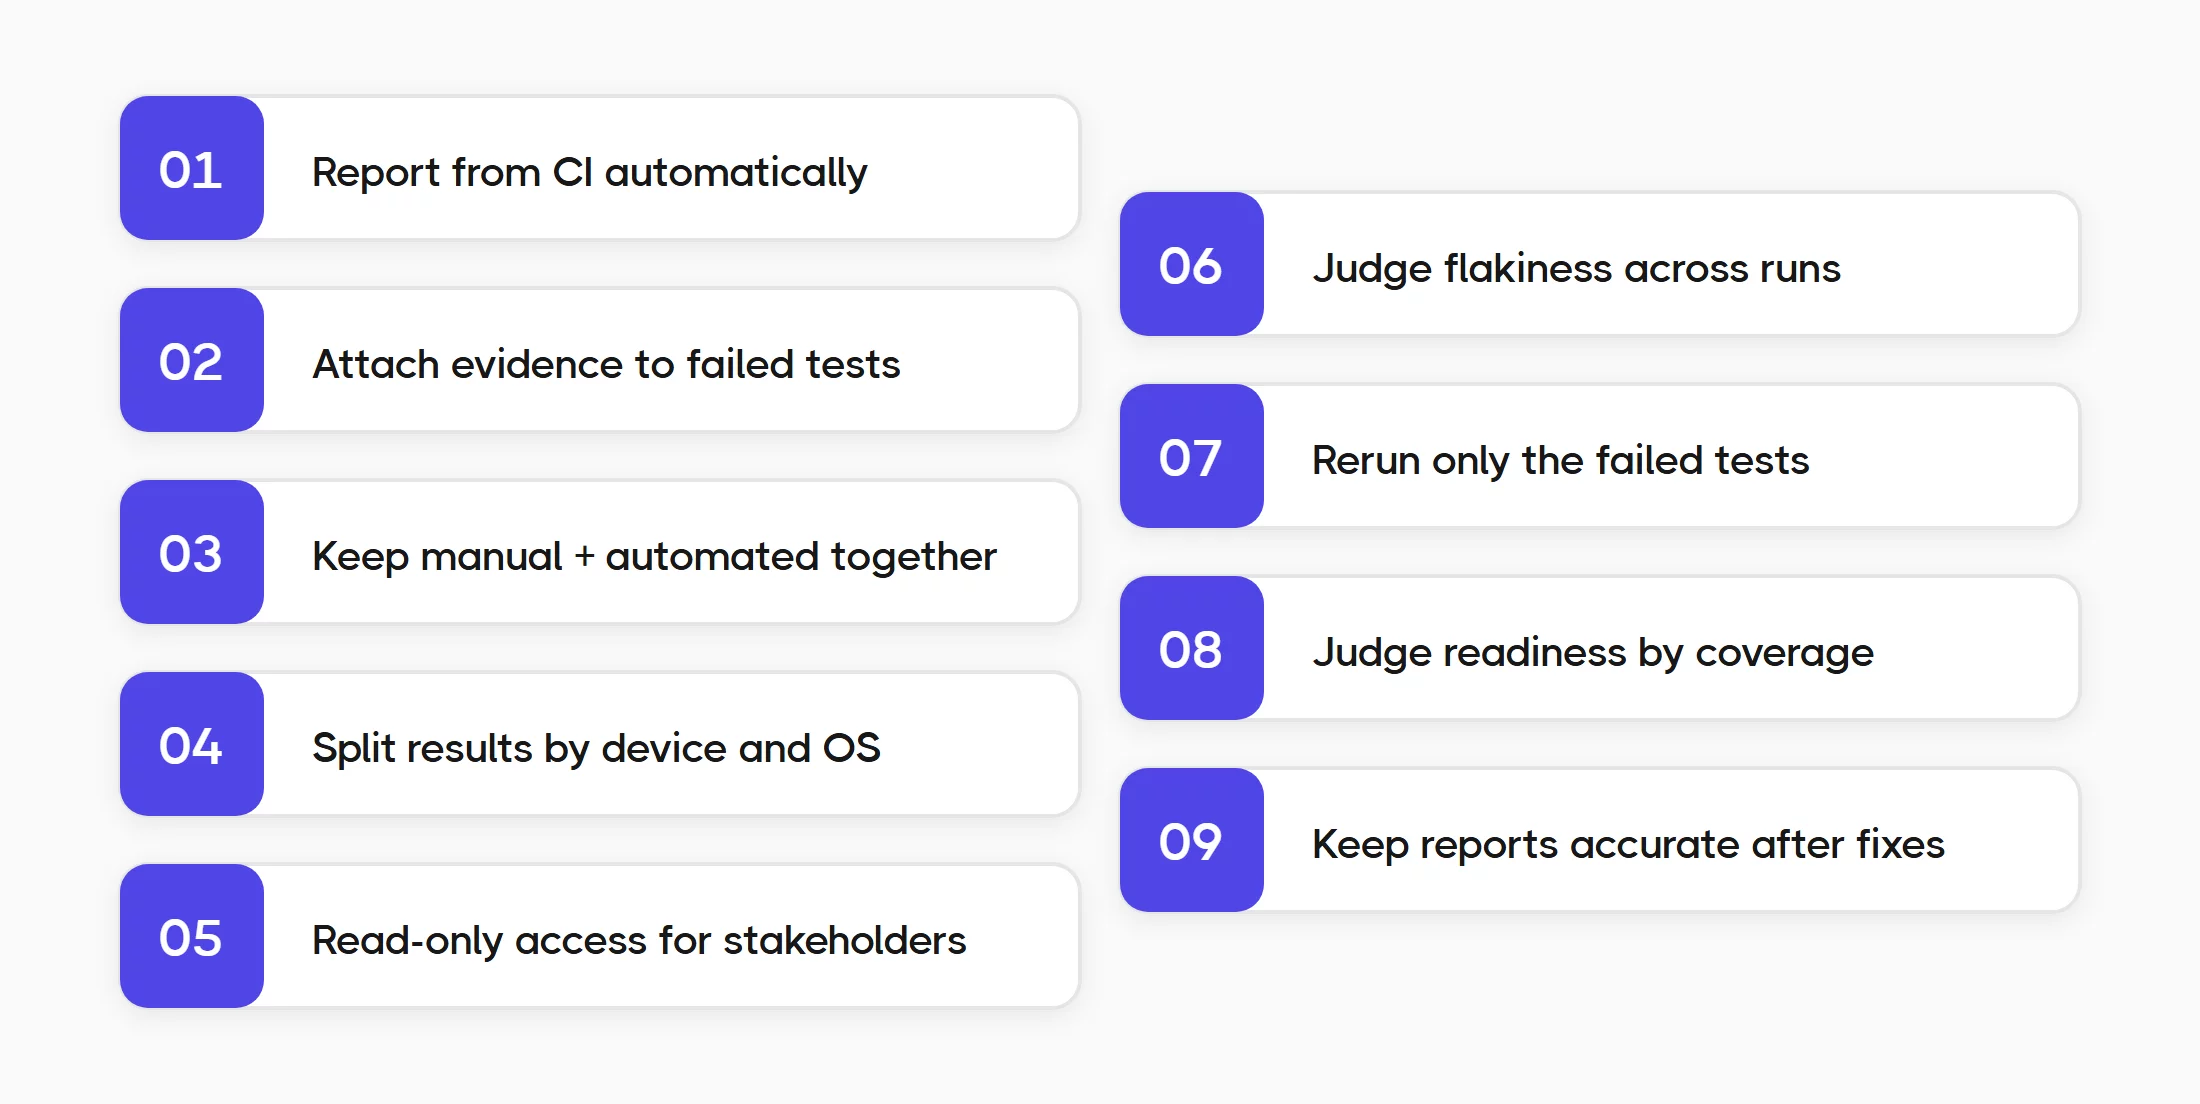
Mobile app QA testing generates results from more sources than web testing does. Automated runs come from CI and manual sessions come from physical devices, while exploratory passes on a beta build add a third stream. The practices below keep that workflow under control, and each shows how Testomat.io supports it.
#1: Report Results From CI Automatically
Mobile pipelines include work that web pipelines skip: signed builds and prepared devices, plus artifacts that exist only for the length of the run. Reporting results is the step teams underestimate, and you can configure it once so results leave CI on every build. Most mobile frameworks emit JUnit XML, which is the shared format across Espresso and XCUITest, along with most other runners.
- name: Run instrumented tests
  run: ./gradlew connectedAndroidTest

- name: Report results
  if: always()
  env:
    TESTOMATIO: ${{ secrets.TESTOMATIO_API_KEY }}
  run: |
    npm install @testomatio/reporter
    npx report-xml "**/build/outputs/**/TEST-*.xml"
The if: always() line matters: it runs the reporting step even when tests fail, which is exactly when you need the data. Testomat.io Reporter 2.3.0 is current, though WebdriverIO users should stay on v2.2.2, and the CI/CD execution setup covers other providers.
#2: Attach Evidence to Every Failed Test
The device state that caused a failure disappears when the run ends, so local reproduction rarely works. You need to attach a screenshot and a video to every failing result while the run is still alive. Testomat.io captures both as artifacts, so the evidence stays with the test instead of a build folder that expires.
#3: Keep Manual and Automated Results Together
When separate tools store manual and automated results, someone assembles the release coverage by hand. You can run both as a single unit instead. Testomat.io mixed runs combine manual and automated tests in a single execution and leave the CI configuration untouched. The run report shows every result together, so you see the full release coverage in one report.
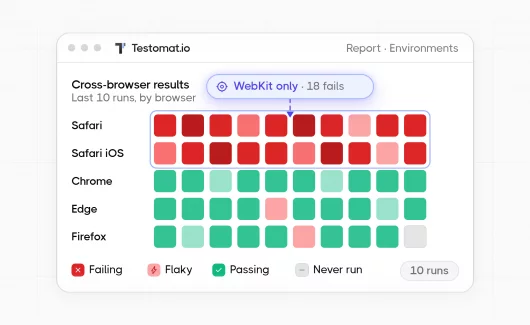
#4: Split Results by Device and OS
A merged pass rate hides failures that occur on a single device or OS version. You should record the environment with every result, so a device-specific bug points at its configuration. You define environments in Testomat.io as {category}:{value} pairs such as OS:Android 15 or Device:Pixel 9, then group them. Results arrive split by environment, so you see results across iOS and Android environments instead of a merged number, and manual runs accept metadata such as Device and Network.
#5: Give Stakeholders Read-Only Access
Product managers and clients check release status often, and a paid seat with a full login is too much for that. You can share a report that opens in a browser. Testomat.io generates public read-only reports, so the QA lead skips the manual status update every time someone asks about the build.
#6: Judge Flakiness Across Runs
Mobile suites flake for reasons of their own, like permission dialogs on the first run or animation timing under load, and the noise buries real defects. You need to judge stability across execution history, because a single run is too small a sample. Testomat.io runs an AI agent that labels flaky tests from execution analytics. You decide how strict the detection is in Analytics Settings. Failures with the same root cause get grouped by stack trace, so twenty failing tests from a single broken API call appear as a single problem in the flaky test analytics view.
#7: Rerun Only the Failed Tests
A handful of failures normally forces a rerun of the whole suite. You can restart the failed part alone and keep the passing results. Advanced Relaunch in Testomat.io restarts only the failed tests from the previous run, and it can restart them as manual or automated.
#8: Judge Release Readiness by Coverage
Pass rate answers whether the tests you wrote succeeded, while coverage answers whether you wrote the right tests. Only the second measures risk, so you should check coverage before you approve the release. Testomat.io’s Deep Analyze agent audits the project and reports on running status and automation coverage, and it’s built to support release decisions before deployment.
#9: Keep Reports Accurate After Late Fixes
Late fixes create a reporting problem on release day. The team verifies a fix by hand after the run has finished, but the run still shows the old red result, because most tools lock a completed run. You can update the result instead of rerunning everything. Testomat.io lets you change the status of an individual result inside a completed run, so the report reflects the late fix and the team avoids a full suite rerun.
Bottom Line
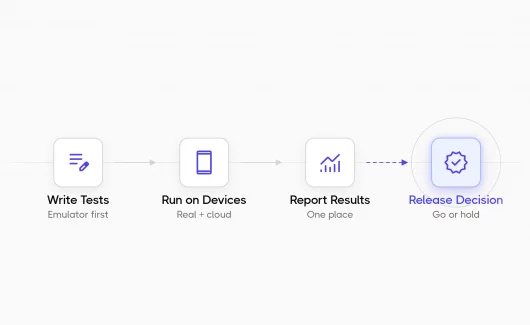
Mobile app testing works when the right test type runs on the right device and the results are consolidated in a single place to support the release decision. You need to cover the testing types and route each test to the cheapest tier that catches its failures. From there, you can follow the mobile testing process from scope through triage and apply the practices above, because most of them cost a single setup and save time on every release. A green suite is an input to the release decision, and coverage plus context gives you the confidence to make it. Testomat.io keeps all of that in a single place, from CI results through the go or hold decision. Try Testomat.io and bring your mobile test results together.